Dial in your Rear Shock
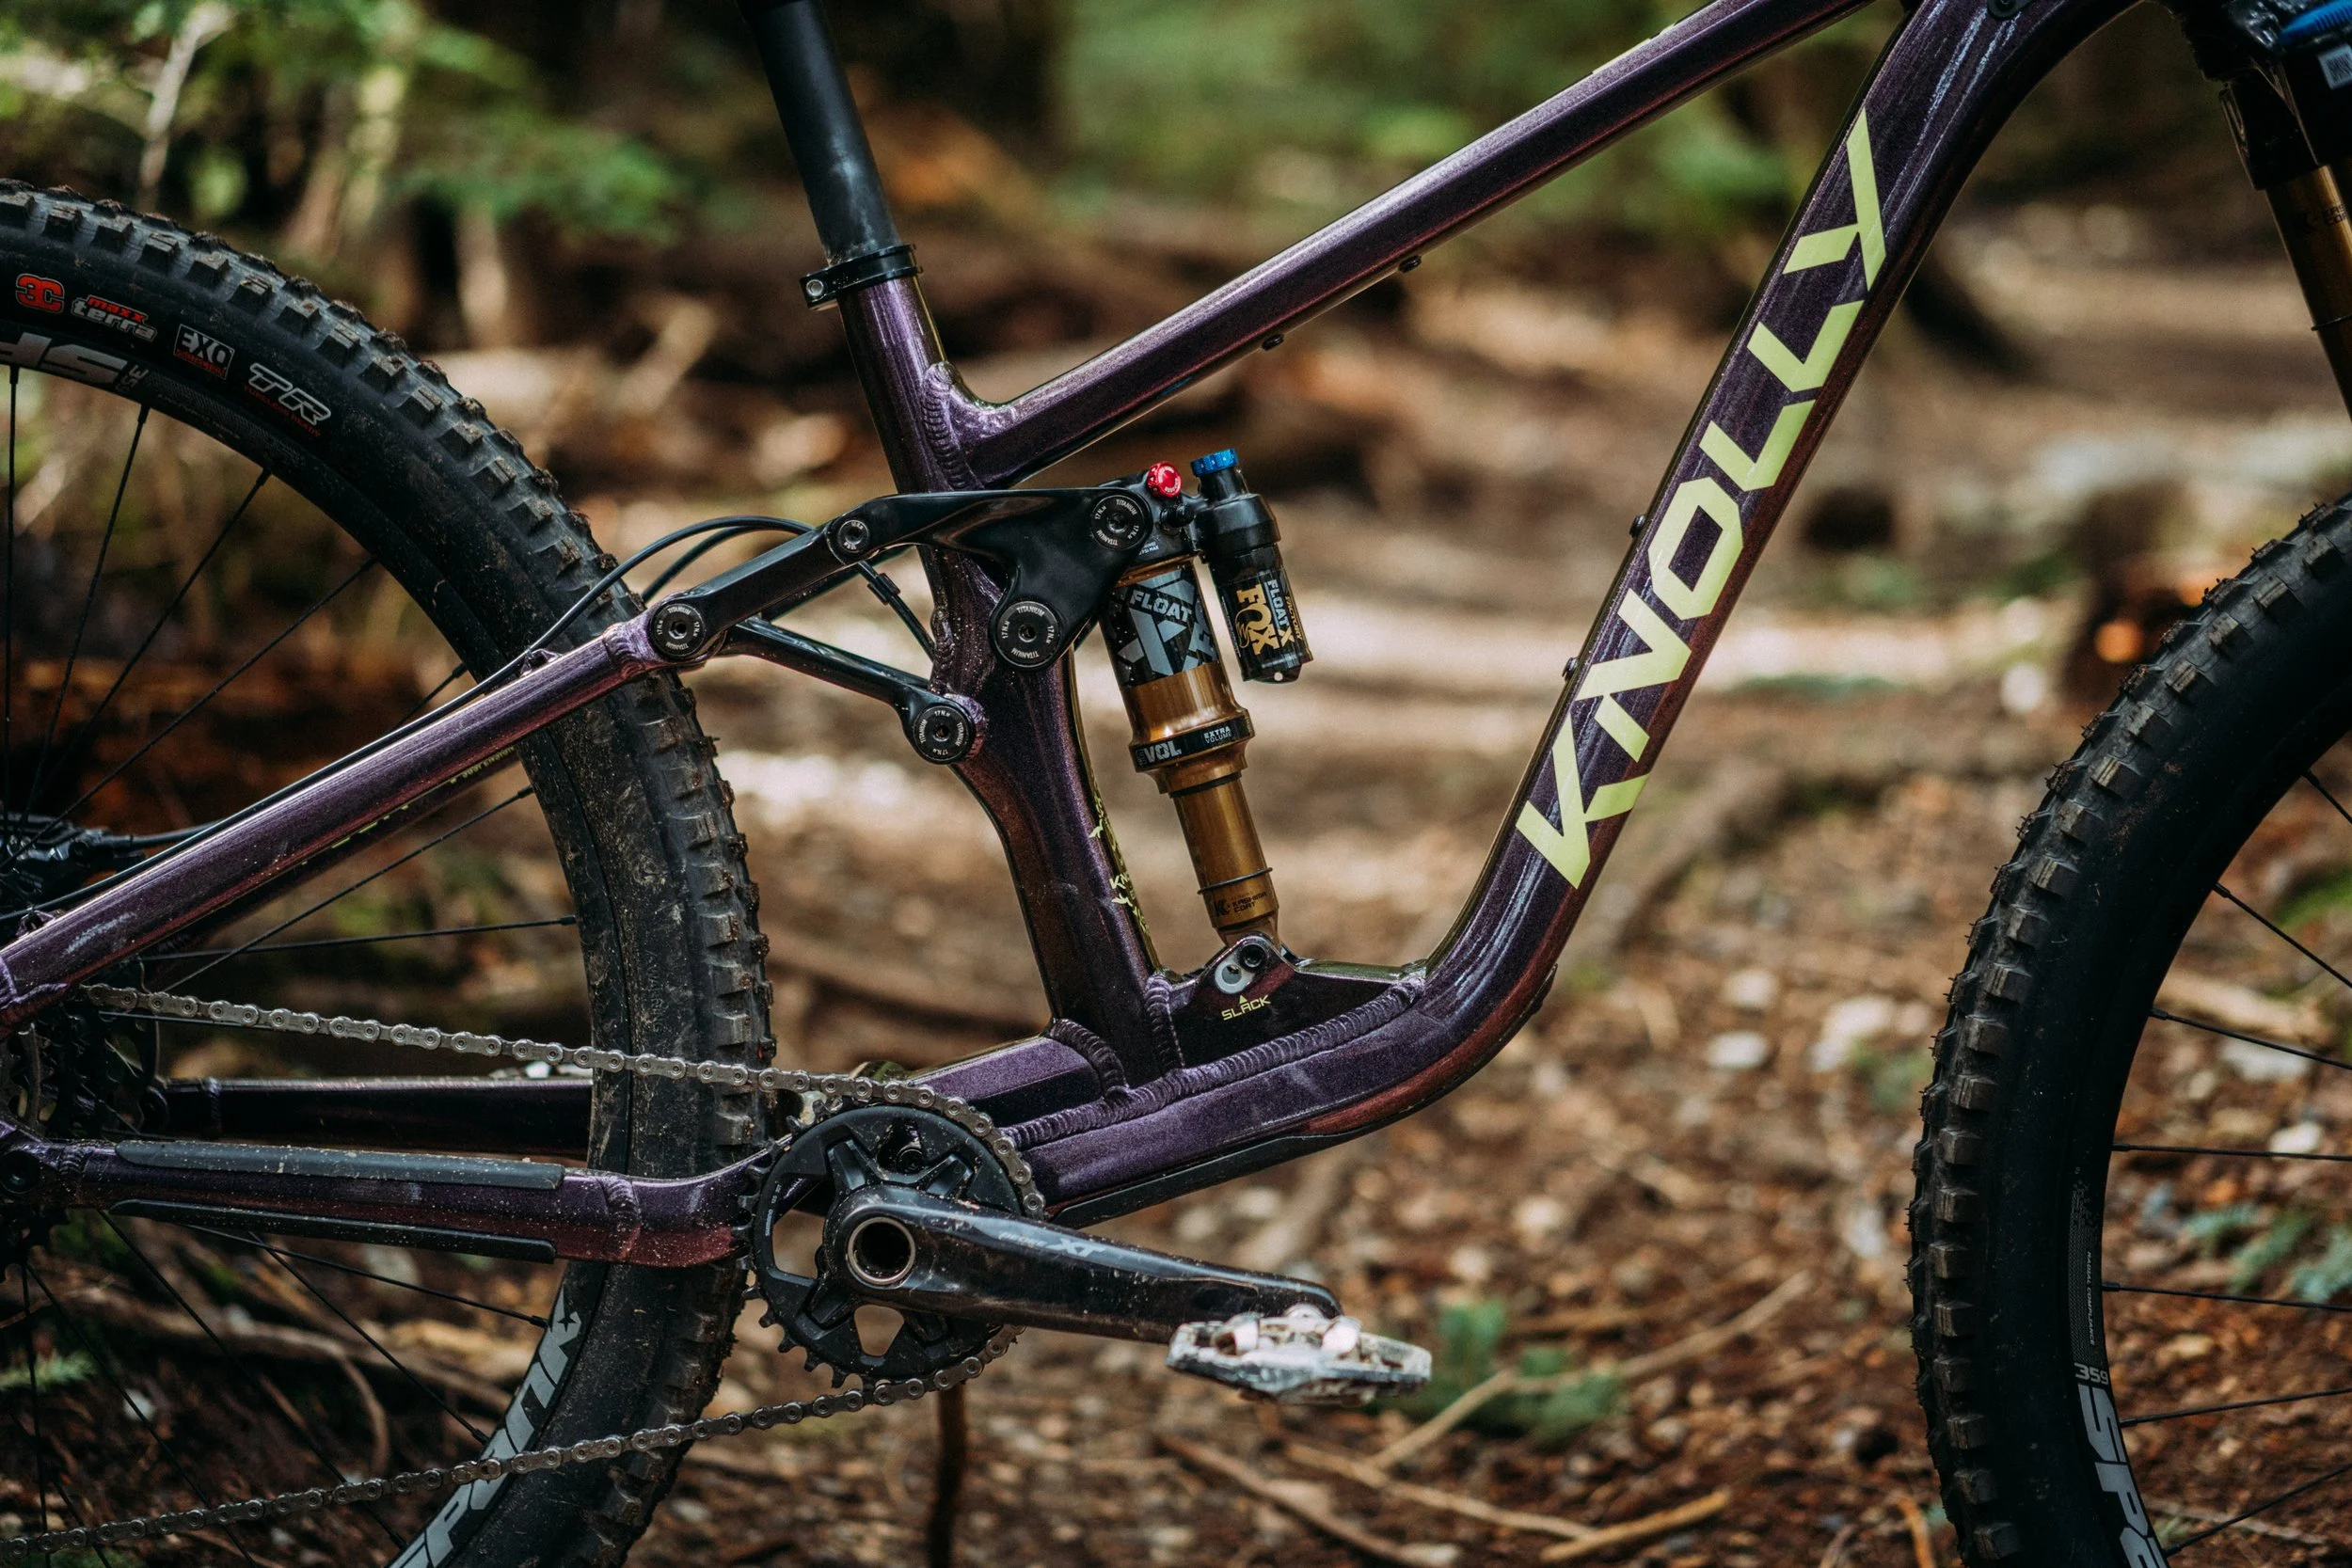
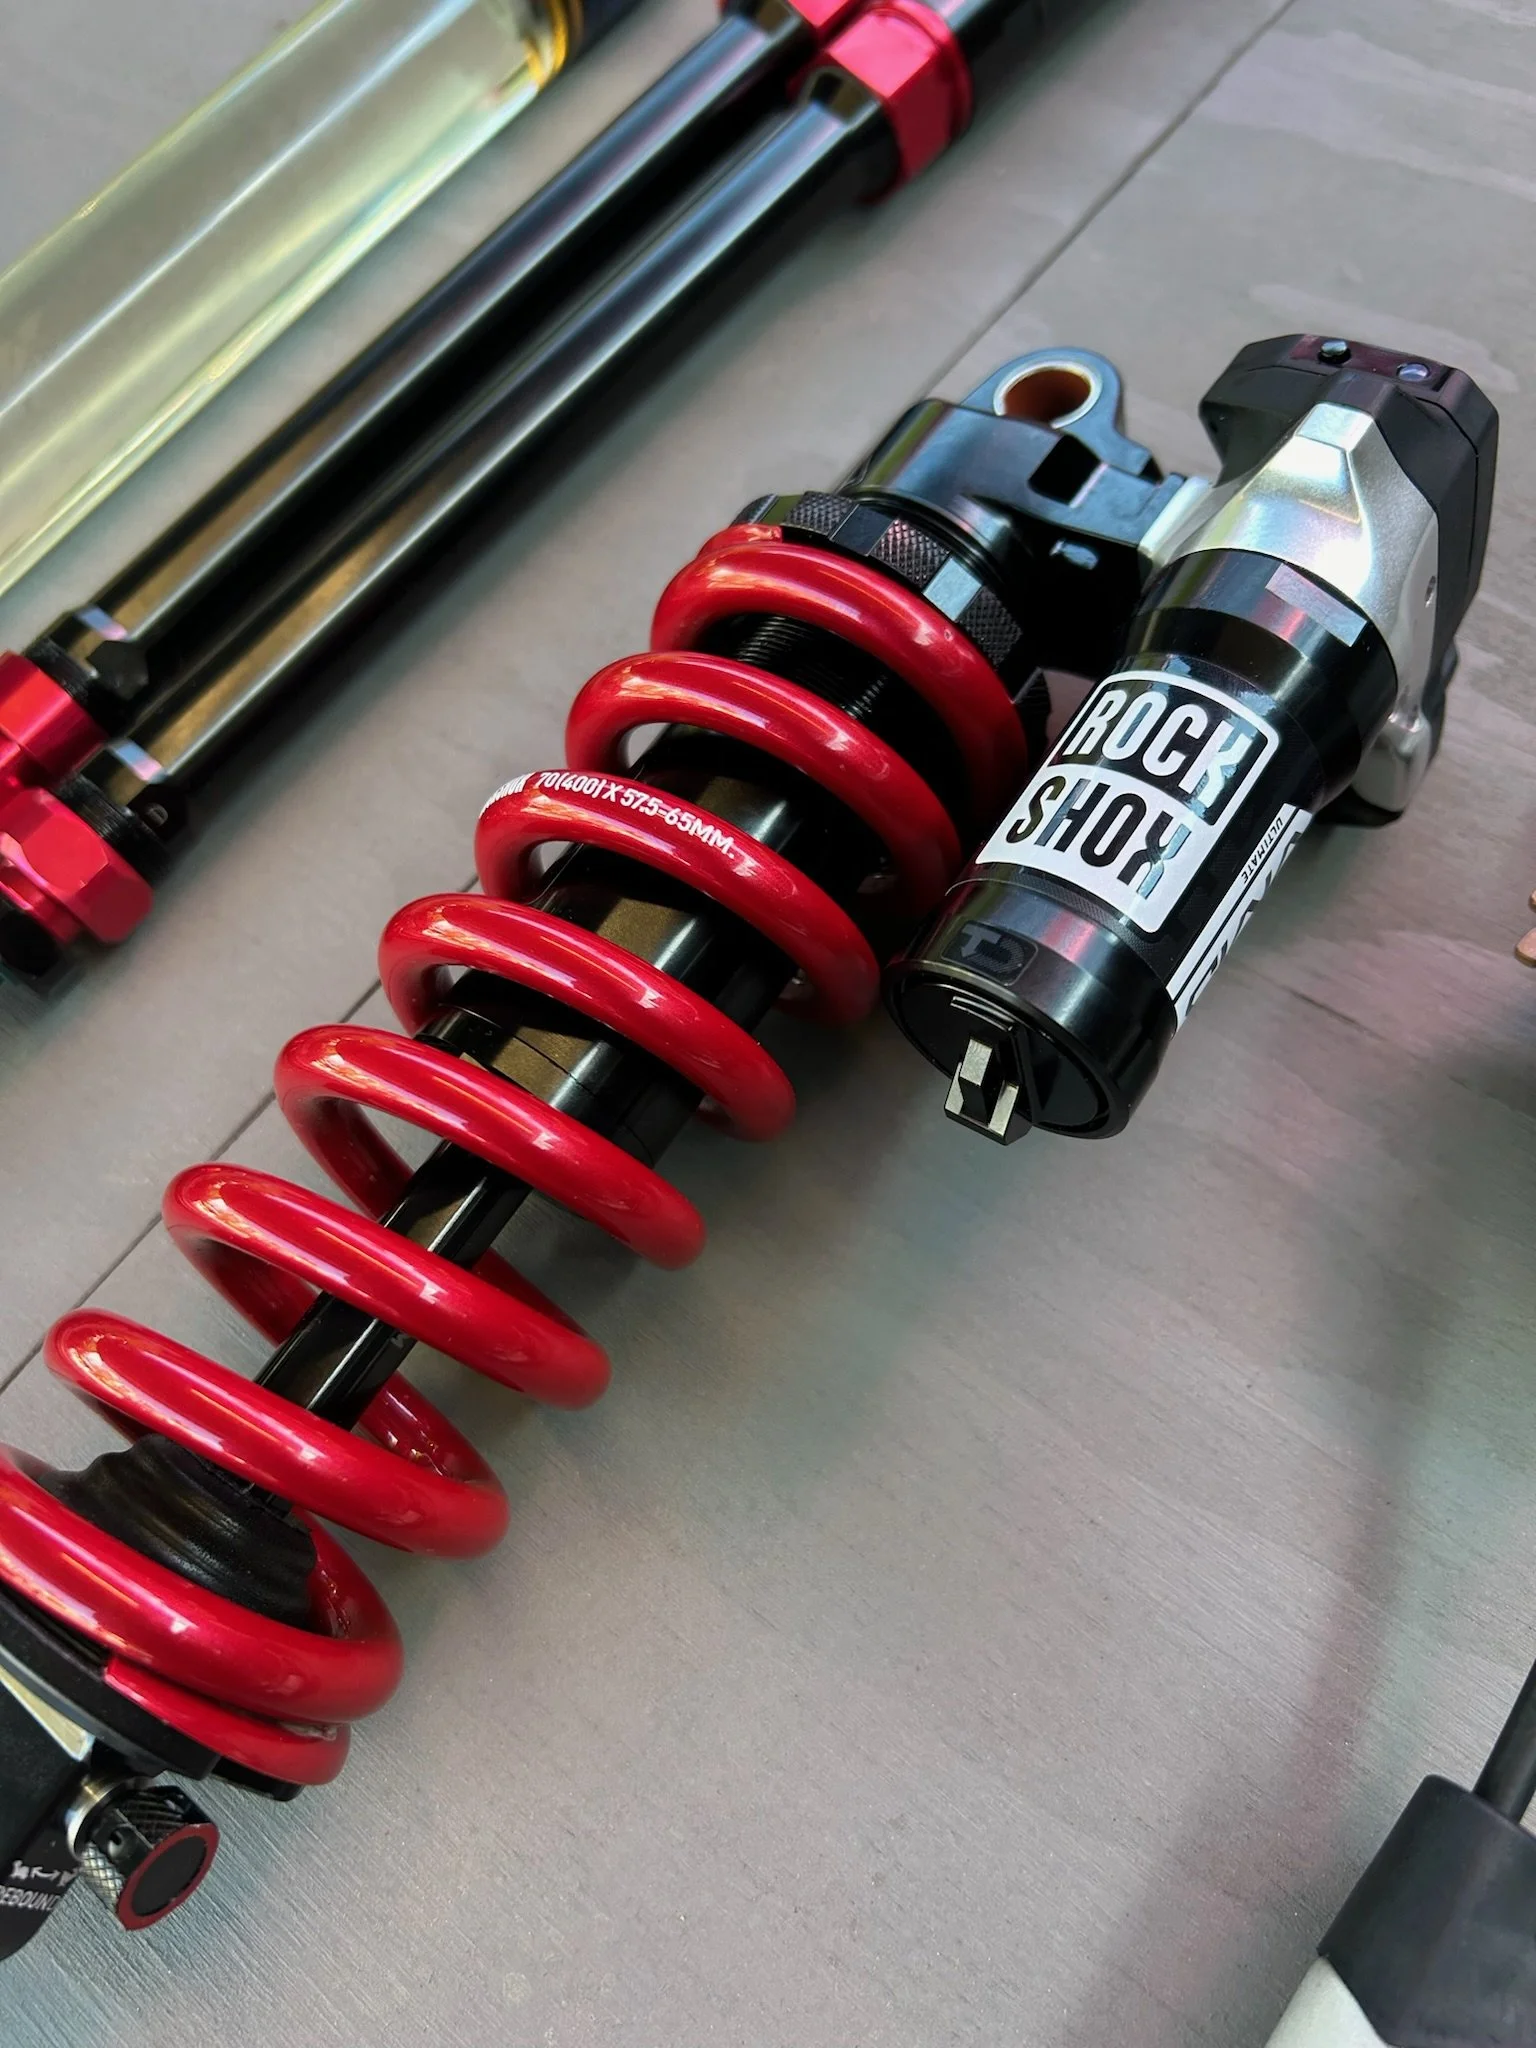
You’ve got a new rear shock installed on your bike, ready to take on the trails with enhanced control and performance. But before you hit those descents or climb into the clouds, there’s some setup involved to ensure your shock performs as intended. Let’s walk through the process of adjusting your rear shock for optimal performance, covering everything from air pressure to rebound and compression settings.
Start with Sag
Sag is the amount by which your suspension compresses under your body weight when you are in a stationary position on the bike. Proper sag is crucial for optimal performance. It directly influences how your bike feels and handles during rides. Most rear shocks perform best when sag is correctly set to approximately 25–30% of the total travel of the shock. Getting this adjustment right can significantly enhance your riding experience and improve overall bike handling.
Find a flat surface and mount your bike. Wear your full riding gear to account for the weight.
Use a shock pump to set an initial air pressure based on your weight. Many shock manufacturers provide a guide (usually printed on the shock or found in their app).
Sit on the bike in your normal riding position, allowing the shock to compress naturally.
Have a friend measure the sag using the o-ring on the shock shaft or a ruler. Adjust the air pressure in small increments until the sag falls within the recommended range.
Pro Tip: If you ride aggressively or hit larger drops, aim for the lower end of the sag range. For smoother rides or lighter trail use, go closer to 30%.
Equalize Air Chambers
Most air shocks contain both positive and negative air chambers that need to be carefully balanced for optimal and consistent performance. After you have set your air pressure to the recommended level:
Cycle the suspension slowly by sitting on the bike and bouncing gently.
Recheck your air pressure with the shock pump—it may have dropped slightly as the chambers equalize. Add air as needed to return to your target pressure.
Rebound Adjustment
Rebound controls how quickly your shock returns to full extension after it has been compressed. A well-dialed rebound setting, which is important for optimal performance, ensures your wheel stays in constant contact with the ground, thereby significantly improving both control and overall comfort while riding.
Too fast: The bike will feel bouncy, and the rear wheel may lose traction.
Too slow: The shock will feel sluggish and may "pack down" over repeated hits, reducing travel.
To adjust rebound:
Locate the rebound knob (often marked with a rabbit and turtle symbol).
Turn the knob fully clockwise (toward the turtle) for the slowest rebound setting.
Start testing by turning the knob counterclockwise (toward the rabbit) in small increments, riding a short section of trail between adjustments.
Aim for a rebound speed that feels controlled without being overly stiff.
Compression Adjustments
Many rear shocks feature Low-Speed Compression (LSC) and sometimes High-Speed Compression (HSC) adjustments:
LSC controls shock movement during gradual forces like pedaling or weight shifts.
HSC handles quick impacts, such as jumps or big hits.
Setting LSC:
Start with the LSC dial in the middle of its range.
Test the bike on small bumps or during pedaling. If the shock feels too soft or dives, add more LSC (clockwise). If it feels harsh, reduce LSC (counterclockwise).
Setting HSC:
Use the middle setting as a baseline.
Test the shock on rough terrain or drops. If you’re bottoming out too easily, add HSC for more resistance. If the ride feels harsh on big hits, reduce HSC.
Volume Spacers
If you’re struggling with bottoming out or want more mid-stroke support, adding volume spacers can help. Volume spacers reduce the air chamber’s volume, making the shock more progressive—firmer at the end of its travel.
Refer to your shock’s manual for instructions on adding or removing spacers.
Start with a single spacer adjustment and test the ride before adding more.
Test on the Trail
With your initial settings dialed in, it’s time to test your shock on the trails. Ride familiar sections of trail to focus on how your bike feels. After a few runs:
Hands or legs feel fatigued? Revisit rebound or compression.
Shock feels harsh on small bumps? Reduce LSC or lower air pressure slightly.
Bottoming out too often? Add air pressure or consider a volume spacer.
Maintenance Matters
Keeping your shock in peak condition is just as important as dialing in the settings. Regular maintenance includes:
Cleaning: Wipe down the shock after every ride to remove dirt and debris.
Lubricating: Use manufacturer-recommended suspension lube on seals.
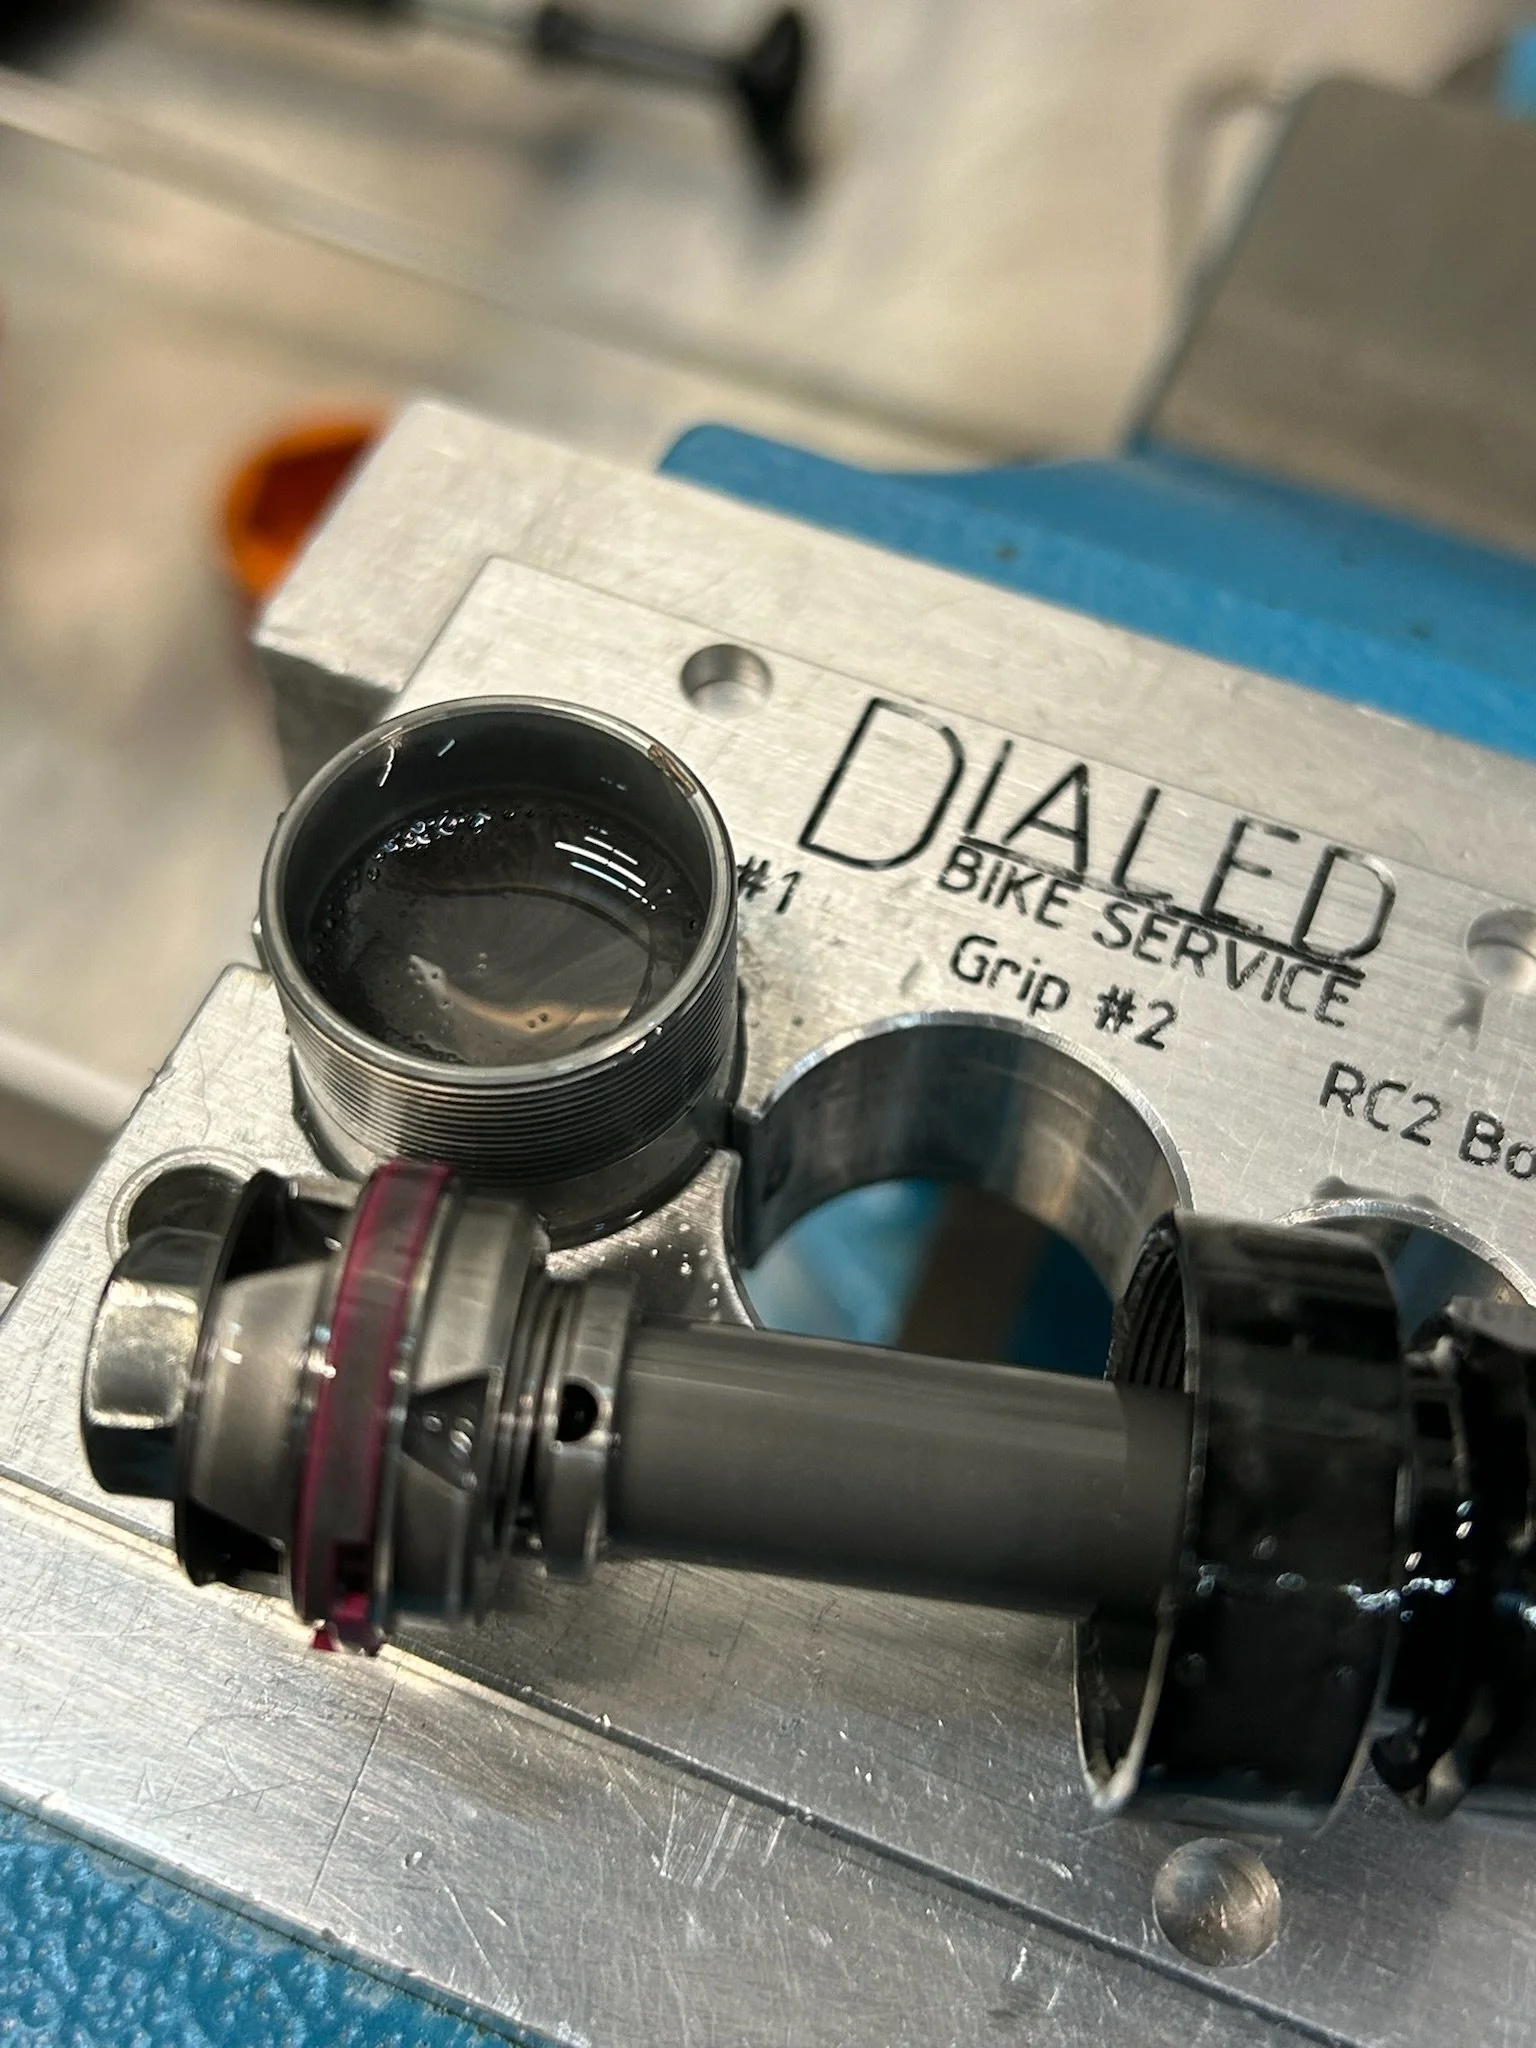
Servicing: Follow the manufacturer’s service intervals for air can and damper maintenance.
Pro tip: you’ll save money by performing regular service on your shock
Keep Tweaking
Suspension tuning isn’t a “set it and forget it” process. Conditions and trails vary, so don’t be afraid to make small adjustments as you explore new terrain. Write down your settings once you’ve found a sweet spot for a particular type of trail, and adjust from there as needed. Make sure to check your pressure before every ride!
A perfectly tuned rear shock transforms your ride—offering control, comfort, and confidence. Now that your shock is dialed in, get out there and enjoy the ride!
And, don’t forget—we offer shock service and adjustments that help you fine tune your ride.


